Overview
Webhooks let you send Leadpipe events to your own endpoints when visitors are identified or updated.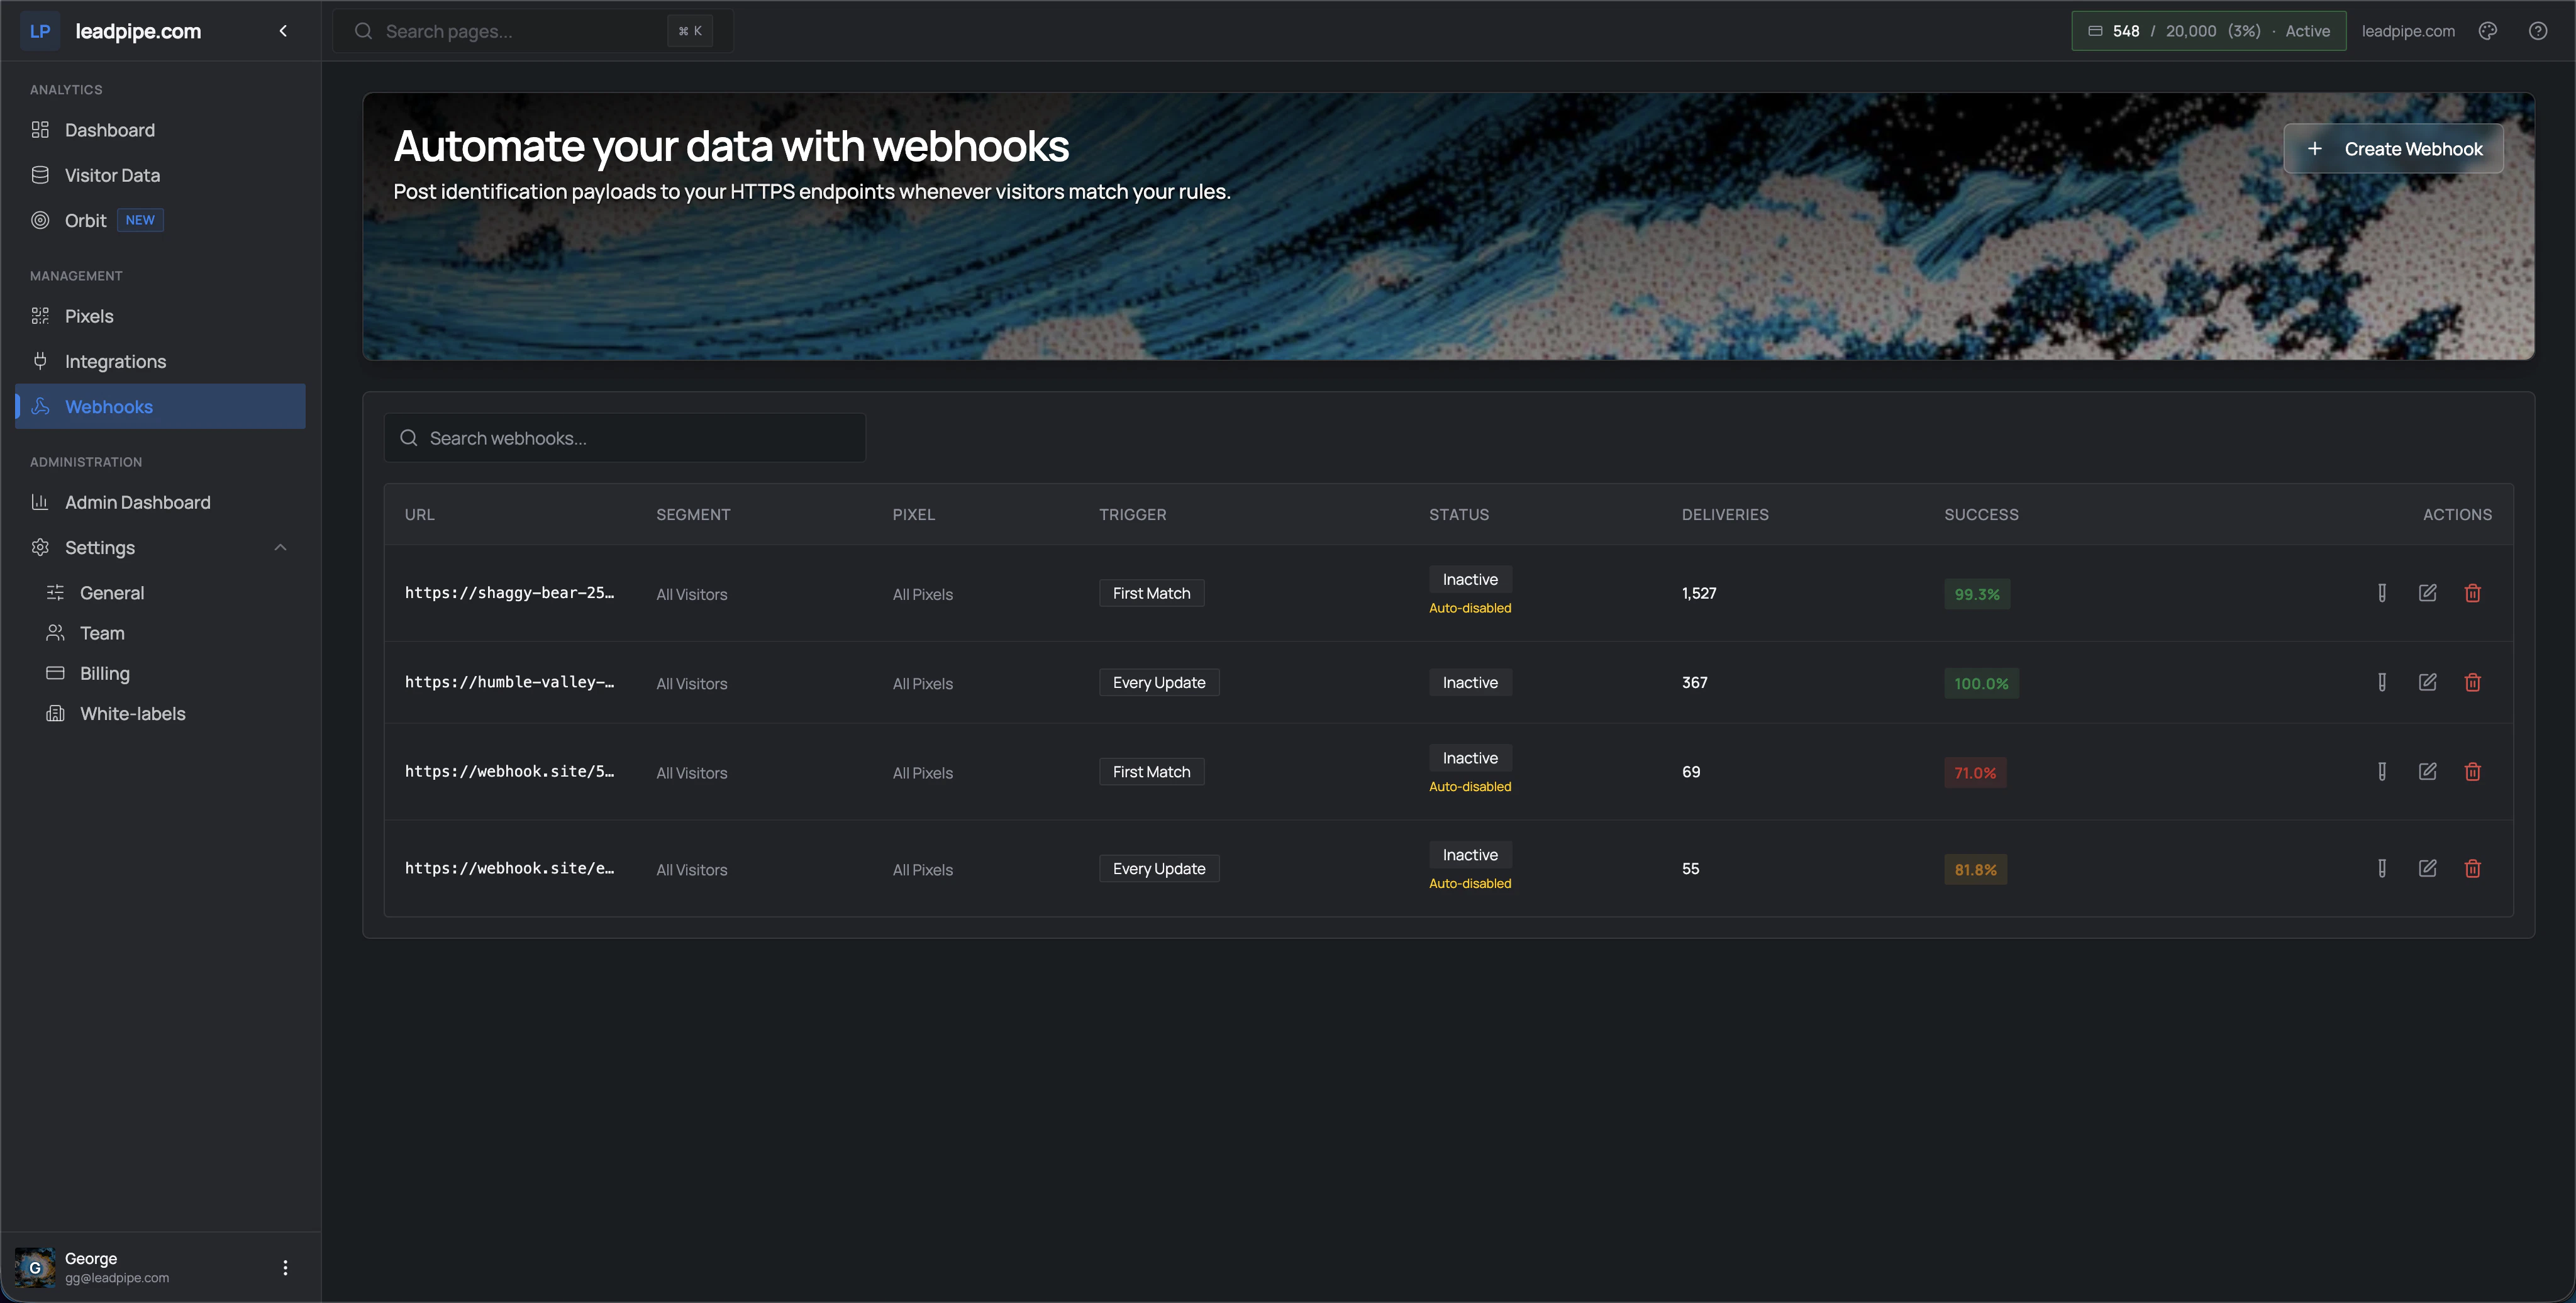
- A destination URL
- A segment
- A pixel
- A trigger
- Delivery status and success rate
Inactive or Auto-disabled.
Trigger types
First Match
First Match
Use this when you want the first qualifying identification only. This is the lighter option when you do not want the same visitor sent repeatedly.
Every Update
Every Update
Use this when downstream systems should receive repeat updates as visitor data changes or as new sessions happen.
Recommended workflow
1
Start with a narrow segment
Limit the first webhook to a clear slice of traffic so you can validate the payloads and delivery behavior.
2
Pick the right trigger
Use First Match for lighter workflows and Every Update when downstream state needs to stay current.
3
Monitor delivery health
Review deliveries, success rate, and inactive status before scaling the webhook to more traffic.
Testing and delivery history
Once the webhook is configured, you can send a test payload and review delivery history to confirm the endpoint is receiving data correctly. In the demo flow, repeated consecutive failures can cause a webhook to deactivate automatically.When to use webhooks instead of integrations
Use webhooks when:- You need a custom destination
- You want full control over downstream processing
- An existing integration does not fit your workflow